Create a drop down selection in Excel to customize cell data
Microsoft Excel is more than just a program to create lists and tables. It’s way more powerful than that but for most of us we will never use all the advanced features Excel has to offer. To master Excel would take a lot of studying and practice and most people never get there.
If you are like the most of us and like to make lists and tables in Excel then there is a neat feature you can use if you have a lot of information that will be repeated or if you want to only allow certain information to be entered in a particular cell, row or column. This comes in handy when you have a spreadsheet that will be filled out by other people and you want to limit what goes into the cells and have it be only specific values.
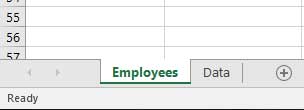
This feature is commonly known as a drop down list and is relatively easy to setup and modify if needed. The first thing you should do is create your spreadsheet the way you want it will all the columns you need in place or at least the ones you want to have drop down choices for. Then you need a place to store the field choices for those columns. We find it easier if you make a separate sheet just to store this listing of field choices. Our main sheet is called Employees and our field information sheet is called Data and we want to have a drop down list for a column called Department.
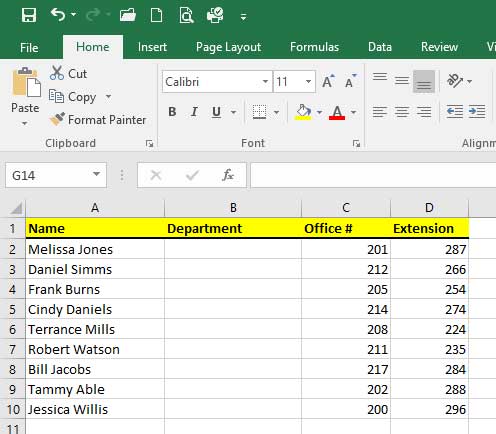
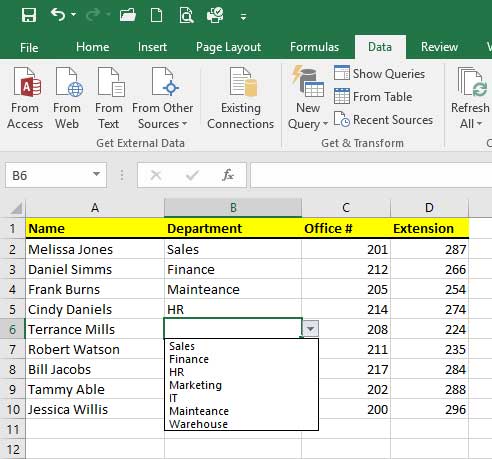
Here is our main sheet with the Department column ready to be configured with a drop down list.
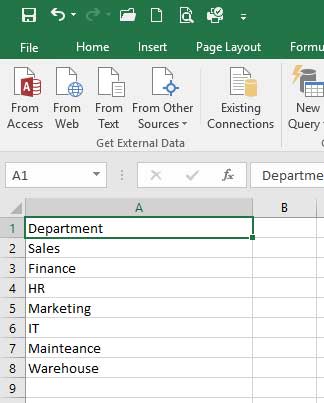
Then we have our Data sheet with the column heading and department listings we want to use. You don’t have to use the column heading in your data sheet unless you have multiple drop down lists and want to make them easier to keep track of.
Now it’s time to configure the drop down list for the Department column. To do this simply highlight the cells that you want the drop down list to apply to and then click on the Data tab and then on the Data Validation icon and then choose Data Validation from the drop down menu. Next you will select List from the Allow menu and click on the source selection icon underlined in red below.
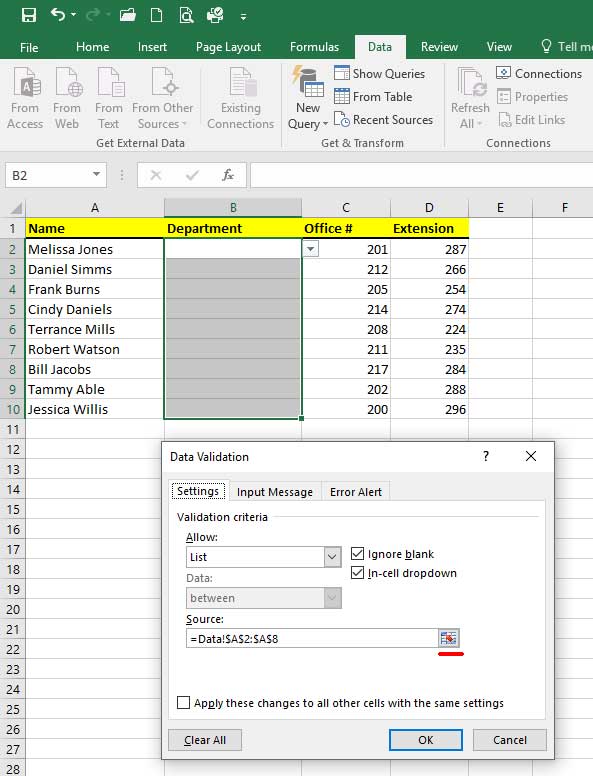
Then go to your Data tab and highlight the cells in the Department column to add that range to the source. Then click on the source selection icon again and then click OK.
Now when you go back to your main sheet you will notice that when you click on a cell there will be a drop down arrow and the items from your Data sheet will be populated within the drop down options.
If you need to add, remove or change the drop down items simply go back to the data sheet and make your changes. You can even sort them alphabetically etc. and they will be sorted in your dropdown list as well. If you add more items than you originally configured when you made your source selection you will have to redo the selection to add the extra cells so it will know to use them in your drop down.
If someone tries to enter a department etc. manually they will get an error that says “The value doesn’t match the validation restrictions defined for this cell.”
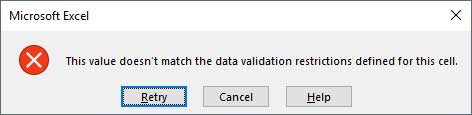
This is there so they can’t just add things you don’t want which would defeat the purpose of having the drop down list to begin with.
Here is how you can create a drop down list in Google Sheets.