Use Storage Spaces to Create Virtual Disks From Physical Disks
Windows has a feature called Storage Spaces which allows you to pool together multiple physical drives into a Storage Pool and then allocate space from that pool into a Storage Space. This comes in handy when you want to allocate storage differently based on your needs and also if you are running a virtual environment and need to carve out space for virtual disks on VMs.
Not all versions of Windows come with the Storage Spaces feature. Windows 8, 8.1 and 10 have this feature along with Windows Server 2012, 2016 and beyond most likely so if you are on an older version of Windows then you are out of luck until you “upgrade”.
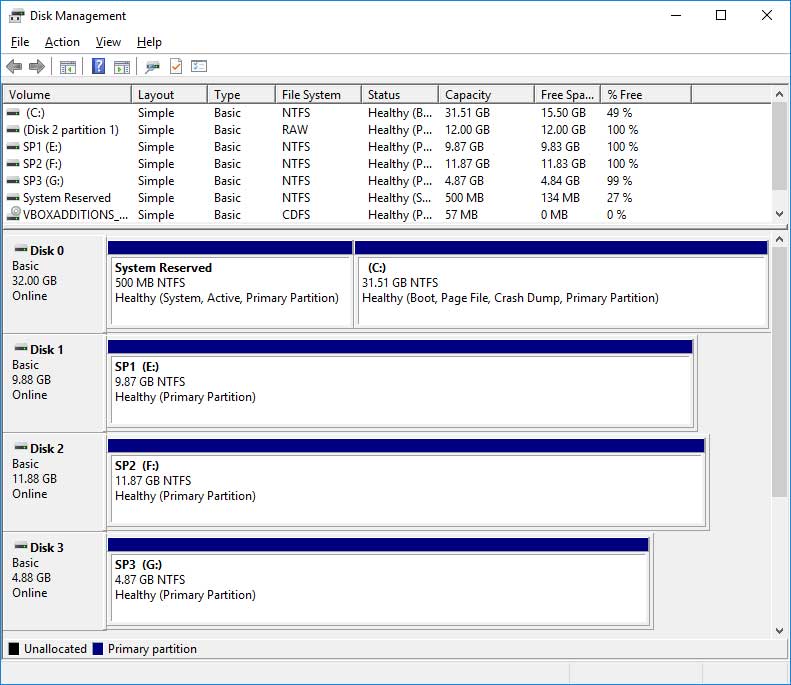
The first thing you need to do to use Storage Spaces is to add additional hard drives to your system. If you are using a virtual machine (VM) then you can add virtual disks to accomplish the same thing. You can go into Disk Management and look at your drive configuration and see which drives you want to use for Storage Spaces. You can’t use your system (C:) drive and you don’t want to use any drives that contain information you want to keep so it’s best to stick with some blank disks. In our example we have 3 new disks called SP1 (10GB), SP2 (12 GB) and SP3 (5GB)
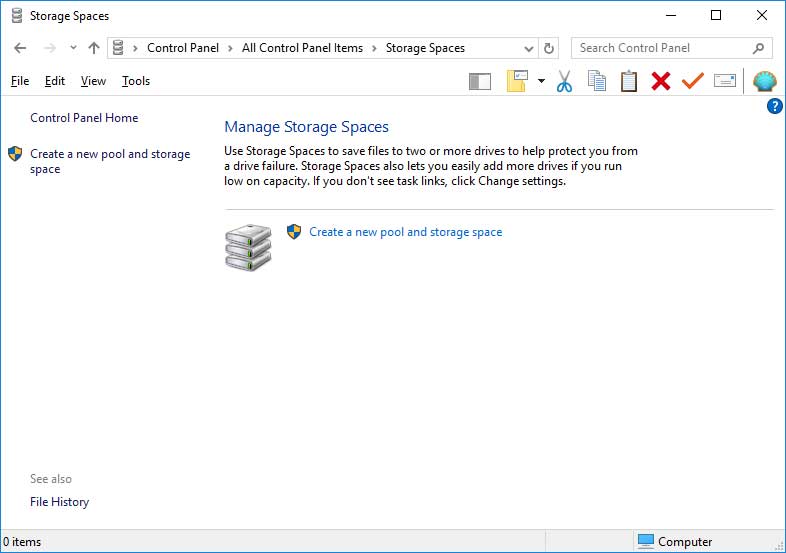
Next you can go into Storage Spaces in Control Panel or just do a search for it and bring it up that way. Then you will click on the link that says Create a new pool and storage space.
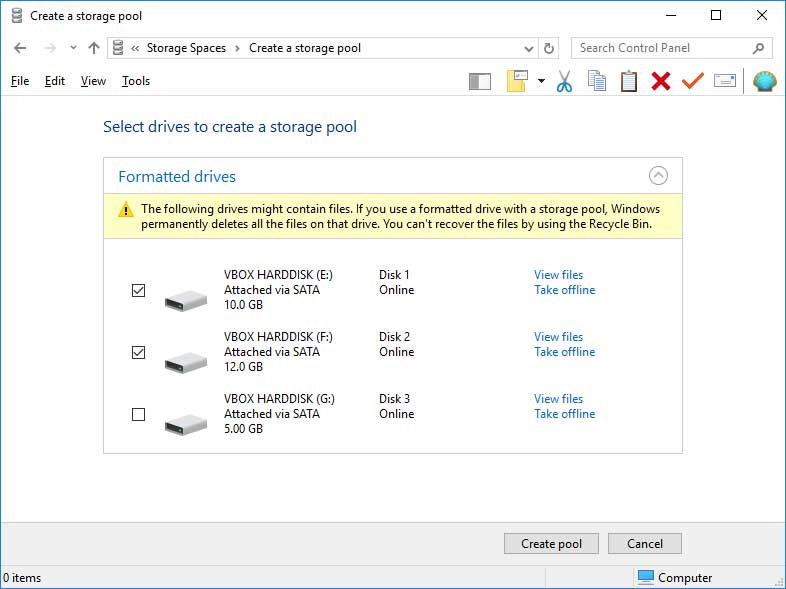
From here select the drives you want to add to the storage pool by checking the box. We noticed that Storage Spaces didn’t keep the name of the drive that we made in Disk Management so keep that in mind when adding your disks. Once you add the drives to the storage pool you can rename them so things line up like we did. After choosing what drives you want to add click the button that says Create pool.
Next give your storage space a name, choose an available drive letter and then a file system. NTFS is the default which should be fine for most instances. REFS is an up and coming file system from Microsoft that will most likely be an NTFS replacement in the future.
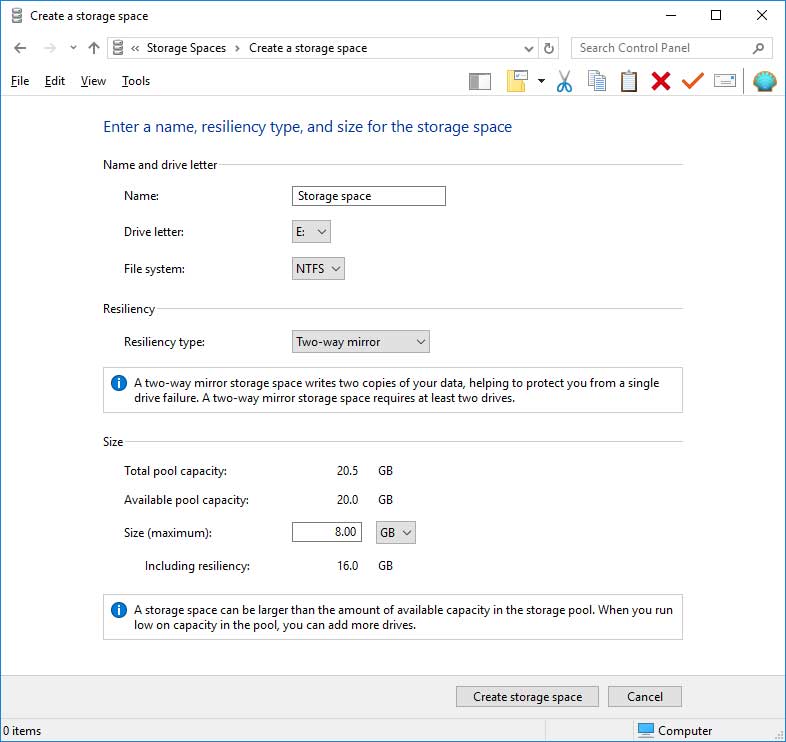
The resiliency types are similar to RAID levels and you have a few options. You can choose Simple (no resiliency) which will just use all the space and one big storage pool and offer no redundancy or performance benefits. Two-way mirror will use 2 disks and make a mirror out of them which will copy the same data (duplicate) to both drives and allow you to keep your data intact in case one of the disks fails. A three-way mirror will do the same thing but with 3 drives allowing for 2 drives to fail at the same time without losing data. This process requires 5 disks so keep that in mind. Finally there is the Parity option which requires 3 disks but will write data with parity information allowing you to keep your data safe when 1 disk fails.
Finally you can choose how much of the available space you want to use under the Size section. It will show the total pool capacity, available pool capacity and the maximum size the storage space can be based on the resiliency level you chose.
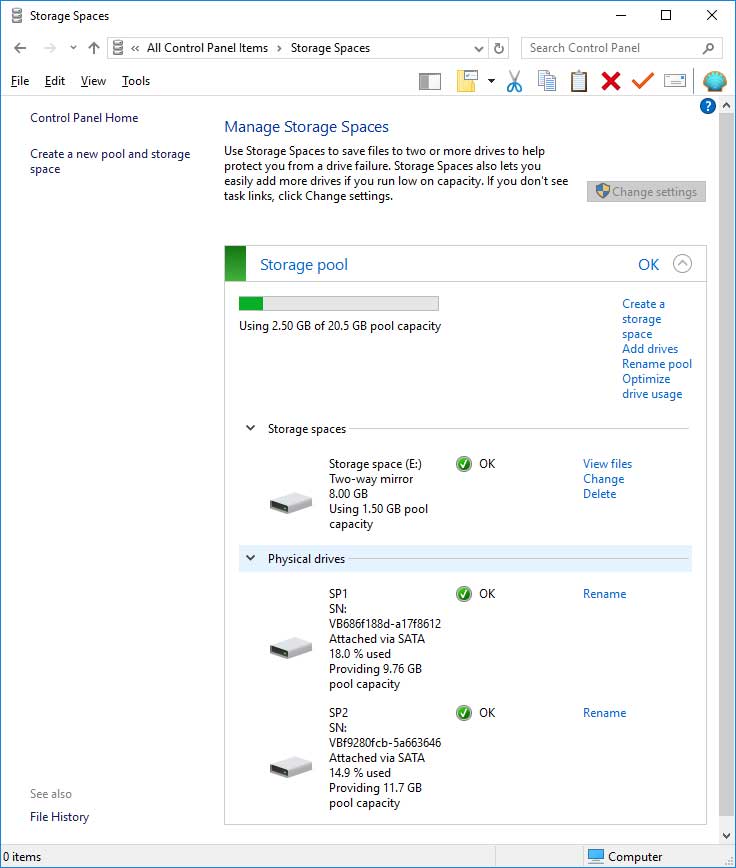
After you choose your configuration simply click on Create storage space and you will be taken to the Manage Storage Spaces screen which will show all your storage pools, storage spaces and physical drives that are in use by Storage Spaces. Here you can do things such as more drives, create another storage space or delete one and rename drives.
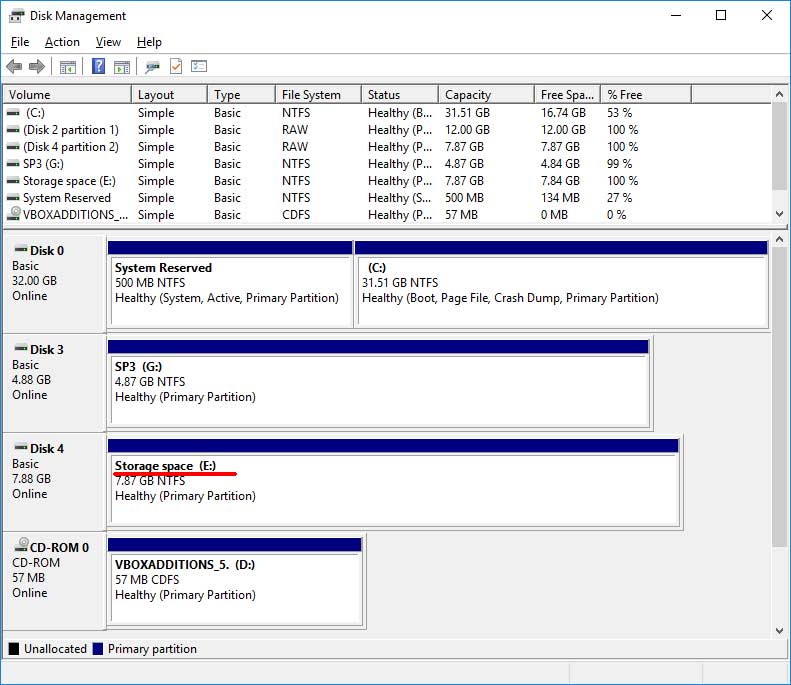
You will notice that if you go back into Disk Management after creating the storage space that the drives that were used are no longer listed and have been replaced by the storage space with the letter you assigned to it.
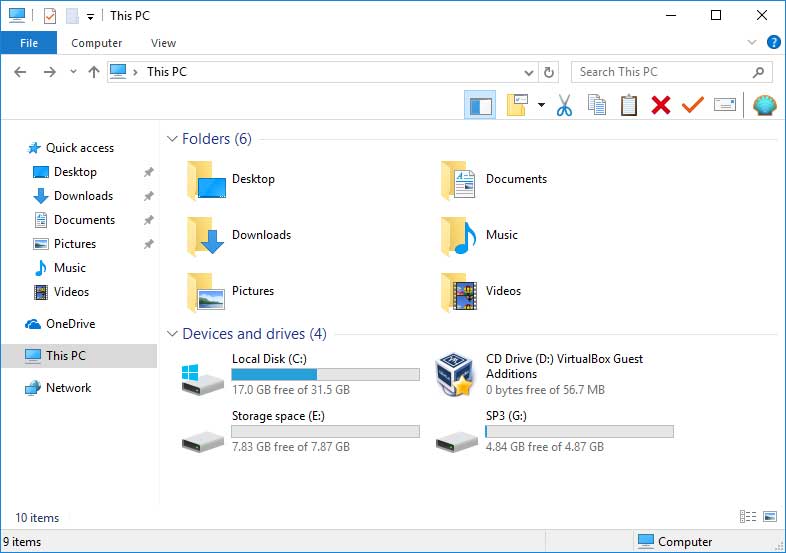
And if you open Windows/File Explorer you will see the storage space as a new drive ready to use just like it was any other drive.